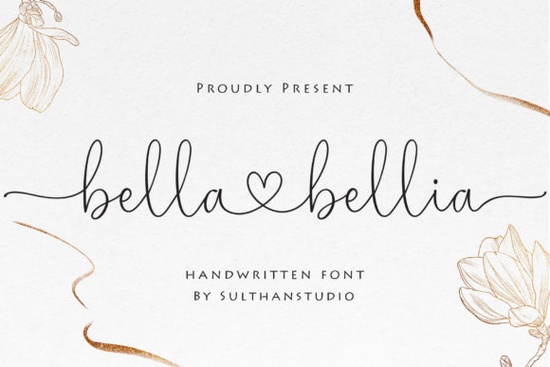
If you need a reliable script typeface that adds instant polish to any project, the Bella Bellia Font delivers exactly what modern creatives require. It features a clean, readable structure mixed with graceful flourishes that feel current rather than stuck in outdated trends. Whether you run a small stationery shop, create printable downloads, or design custom wedding packages, having a versatile signature style in your toolkit saves hours of trial and error. The file also comes PUA encoded, which removes the usual headache of hunting down special characters. Instead of guessing keyboard shortcuts, you open your software’s glyph panel and pick the perfect swash or alternate character right away.
Where does this kind of typography actually belong?
Refined curves work exceptionally well for personal projects requiring elegance without sacrificing legibility. Wedding invitations gain immediate polish because the letterforms read clearly at both large header sizes and smaller detail scales. For brand identity projects, graphic designers often pair these flowing characters with sturdy sans serifs to balance visual weight. Print-on-demand sellers can drop it onto mugs, tote bags, or wall art where high-contrast strokes catch the eye even when scaled down. Social media templates also thrive here, especially when used sparingly over clean backgrounds so the focus stays on the core message.
You will also find it useful for event signage, thank-you cards, and minimalist packaging. The key is restraint. Treat it as a statement voice rather than background noise. When you let those extended tails breathe, your layout instantly feels more intentional and premium.
How do you actually install and use PUA encoded files?
Traditional OpenType files rely heavily on contextual alternates that sometimes misfire in older design programs. PUA encoding solves that by assigning every single glyph, swash, and ligature to a dedicated Private Use Area code point. Once you double-click the font file and hit install, open your preferred application and bring up the Glyphs panel. Look through the organized rows until you spot the extended terminals, decorative connectors, or compact variants you want. Click to place them exactly where they belong. There is no need to constantly toggle layer panels or wait for auto-kerning to play catch-up.
This method gives you full control during layout composition. You can manually swap a standard capital for its flourish counterpart, adjust baseline alignment by nudging individual characters, and maintain consistent spacing across long headlines. Crafters who export to PDF or PNG for cutting machines also appreciate the crisp vector outlines that remain sharply rendered regardless of output size.
What pairs well with flowing signature styles?
No single typeface covers every need, so mixing a delicate script with a grounded secondary font keeps your designs balanced. You might reach for a geometric sans serif when setting long paragraphs of body text, or lean into a slab serif for rustic themes. If you want to explore other signature options that share similar energy, checking out the Bridesmaid collection provides a slightly bolder alternative for heavy accent pieces. For those who prefer ultra-thin lines that barely whisper across the page, the Antura family fills that niche perfectly. Sometimes a completely different direction helps too; switching to a structured Stars Love option can introduce playful geometry when you need a visual reset. Single-stroke calligraphy also plays nicely alongside these compound scripts. A clean Pinsetter set brings architectural simplicity, while the Buttercup selection offers lovely light strokes that sit well beside heavier signifiers. When combining styles, match x-heights and stroke weights as closely as possible. Consistent rhythm matters far more than collecting dozens of unused families.
If you are curious how professional studios arrange their own typographic hierarchies, reading an article about script typography pairing reveals practical strategies that reduce guesswork during busy client deadlines.
Quick setup checklist before you start designing
- Verify the font displays correctly in your primary design software after installation.
- Open the glyph panel and bookmark your favorite swashes and alternate endings.
- Set your base text to a neutral color mode before adding decorative elements.
- Test kerning manually on short headlines to catch overlapping tails or cramped spacing.
- Export a low-resolution preview first to confirm readability on mobile screens.
Start with a clean canvas, apply the script to your main headline, and let the supporting fonts handle the heavy lifting. Experiment with wide tracking on all-caps titles to give those sweeping curves room to expand, then tighten spacing slightly when returning to regular paragraph text. Save your successful combinations as library presets so you can reuse them across future projects without starting from scratch.
Download Now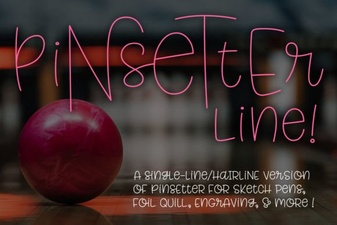 Single Line Fonts for Creative Design & Typography
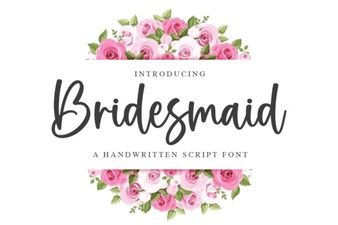 Bridesmaid Font Ideas for Wedding Projects
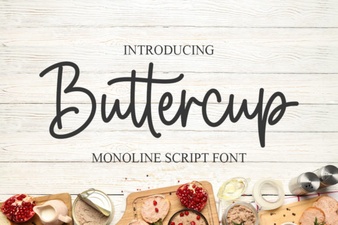 Discover the Charm of Buttercup Font for Design
 Choosing Fonts for Quiet, Minimalist Design
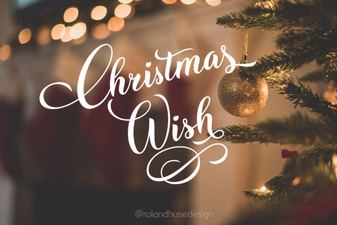 Christmas Fonts for Your Holiday Card Wishes
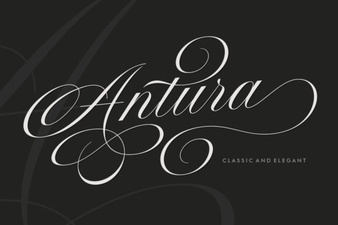 Antura Font: a Creative Typography Tool