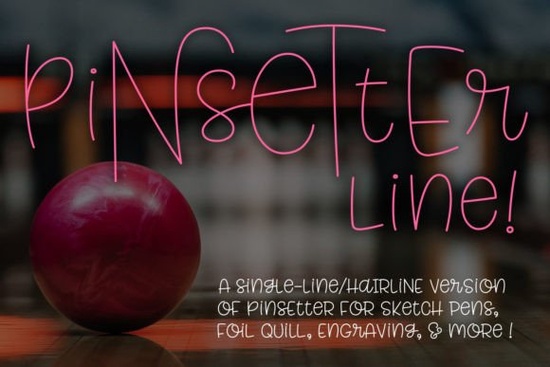
If you work with drawing machines, engraving tools, or foil presses, you already know that standard outline fonts just don’t cut it. That’s exactly why the Pinsetter Line (single Line) Font was built. Instead of tracing the outer edges of each letter, this typeface draws clean, continuous strokes that match how a pen, stylus, or nib actually moves across material. It’s a practical solution for crafters, print-on-demand sellers, and small studio owners who want crisp handwriting effects without the bulk of filled shapes.
What makes a single-line font different from regular typefaces?
Regular fonts rely on closed paths and filled outlines, which forces drawing machines to trace around every character. Single-line and hairline fonts skip that step. They use one continuous path per stroke, so your tool draws the letter exactly once. The result is faster production, less wear on your nibs, and a cleaner handwritten look on cards, tumblers, and fabric tags. If you’ve experimented with delicate script styles like flowing bridal lettering or elegant calligraphy alternatives, you’ll notice how much smoother a true single-line path behaves during machine drawing.
Which software actually supports this format?
Not every design program reads single-line paths the same way. This package includes two file types to cover that gap. The true single-line version works in specialized programs, while the hairline version is optimized for vector editors and craft software. You can run the hairline files smoothly in Cricut Design Space, Silhouette Studio Designer Edition, Adobe Illustrator CC, Inkscape, CorelDRAW, Affinity Designer, and Rhinoceros 6. Brother Canvas Workspace users should note a known compatibility quirk: the hairline paths may not register correctly. The easiest workaround is to build your layout in Illustrator or Inkscape, export as an SVG, and import that file. If you prefer softer lettering for background elements, you might pair this with whimsical handwritten styles or playful boutique lettering to balance the clean machine-drawn lines.
How do you access the alternate characters and sizing options?
Everything in this package is PUA-encoded, so you won’t need extra plugins to reach special glyphs. The font includes three height variations: Littles, Middles, and Talls. The Littles serve as your base alphabet, while the others are stored as alternates. You can pull them up through your software’s glyph panel, or use the included PDF reference sheet to copy and paste exactly what you need. This setup helps when adjusting names on wedding favors, aligning text on curved tumblers, or spacing phrases for romantic stationery layouts. Keeping a visual chart next to your workspace saves time and keeps spacing consistent.
When should you choose a hairline version over a true single-line file?
The decision really comes down to your software and machine. True single-line files contain mathematically perfect single paths, but only a few programs interpret them without converting to outlines. Hairline files use an extremely thin stroke weight that tricks most vector and craft programs into treating them as single paths. For Cricut, Silhouette, and most Adobe workflows, the hairline version is the safer pick. Install both versions and test them in your workspace before committing to a final draw. Remember that these fonts will look unusually thin in standard font previewers. That’s completely normal. You can explore licensing details for Pinsetter Line (single Line) Font directly on the marketplace.
What should you check before sending your design to the machine?
Single-line workflows require a few quick adjustments to avoid wasted material or misaligned draws. Keep this short checklist handy before you hit start:
- Verify the file type: Use the hairline version for Cricut, Silhouette, and most vector editors. Reserve the true single-line file for programs that explicitly support it.
- Set the operation to draw or engrave: Do not leave the layer on a cut setting, or your machine will attempt to slice through a zero-width path.
- Check stroke conversion: In Illustrator, Inkscape, or Affinity, make sure the text is converted to paths and that no fill is applied.
- Test on scrap material: Run a quick sample with your chosen pen, foil quill, or infusible ink tip to confirm pressure and speed settings.
- Use the PDF guide: Keep the alternates chart open so you can swap character heights without guessing.
Once you dial in those settings, you’ll get clean, consistent lettering that looks hand-drawn but produces at machine speed. Save your tested settings as a custom material profile, and you’ll skip the guesswork on every future project.
Learn More Bridesmaid Font Ideas for Wedding Projects
 Discover the Charm of Buttercup Font for Design
 Choosing Fonts for Quiet, Minimalist Design
 Bella Bellia Font: Elegant Design for Creative Projects
 Christmas Fonts for Your Holiday Card Wishes
 Antura Font: a Creative Typography Tool